


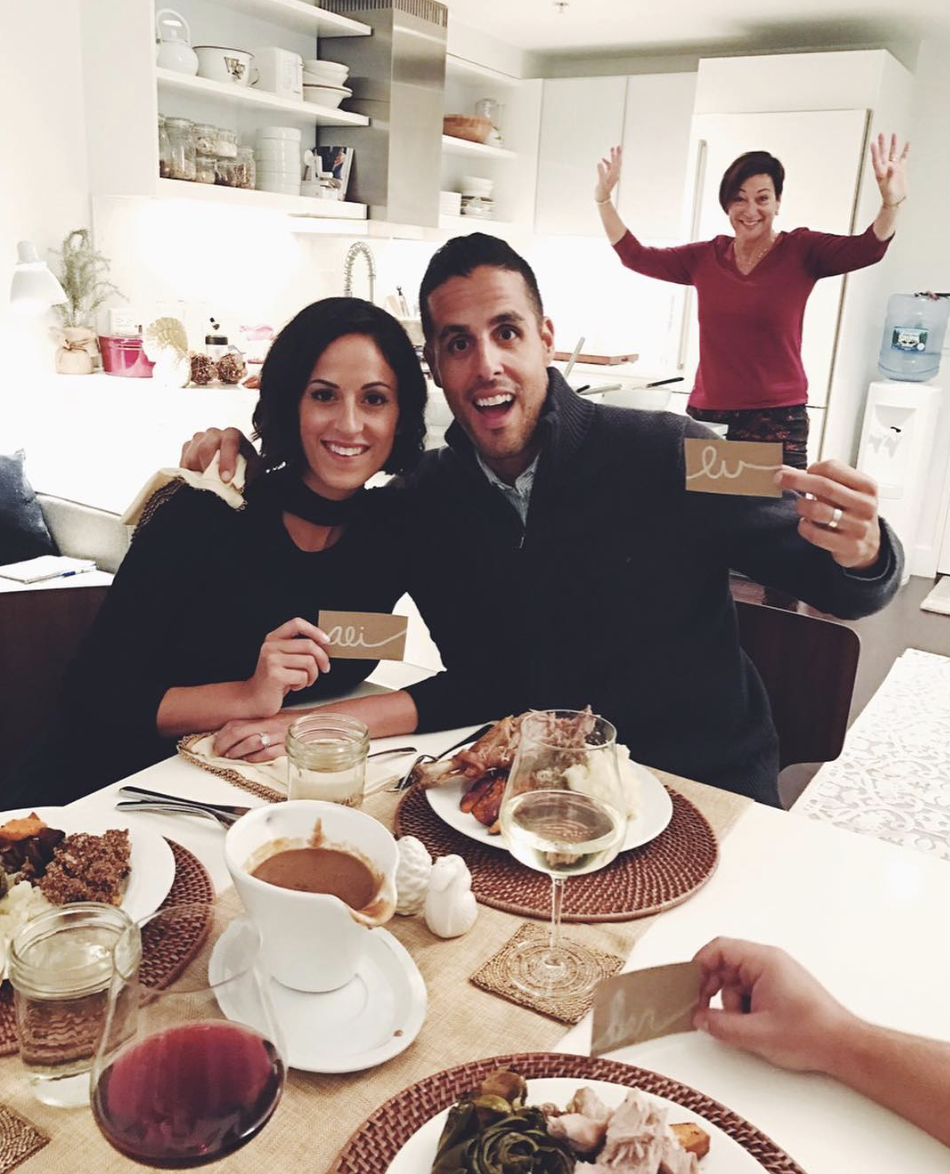
Lu and I hosted Thanksgiving this year. in attendance: my mother, my father, my sister, Felicia, and her boyfriend, Ben. it was a small and intimate Thanksgiving and I wanted to make it special by taking extra care to the details, like our table.
I’ve always loved name cards, especially when you’re hosting a dinner party with friends who may not all know each other that well – you can take out the awkward moment of, “oh, where should I sit?” everyone sits next to a pre-assigned person and it makes everything more sentimental, in my opinion.
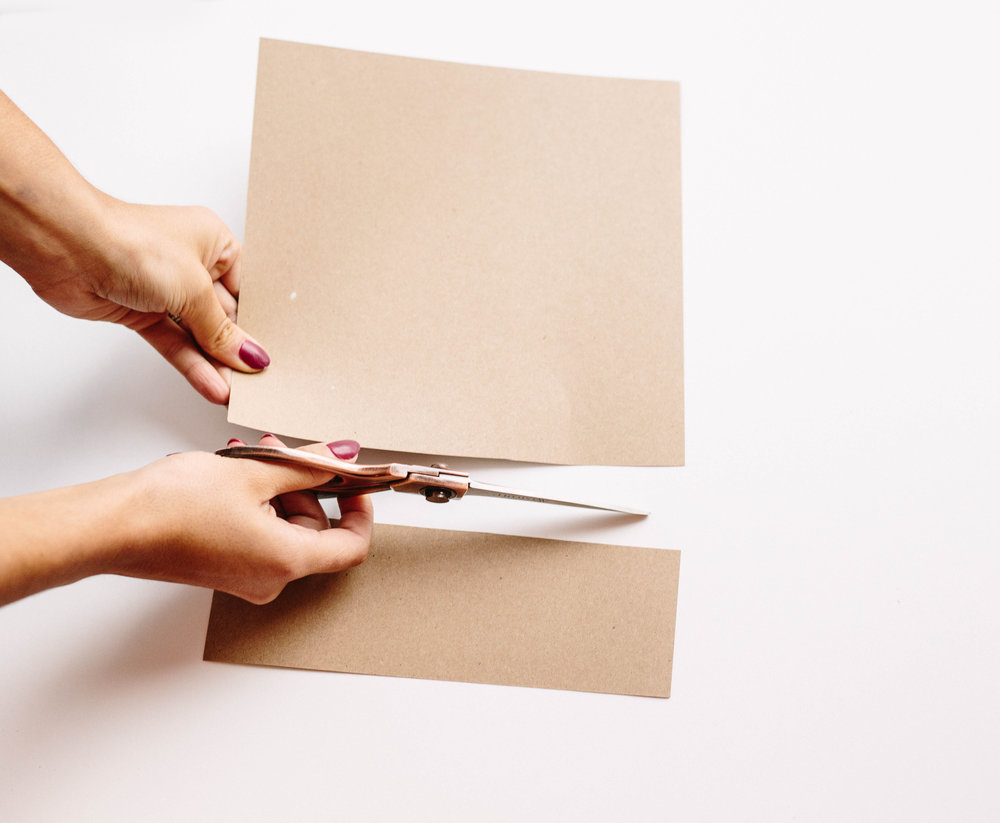
this Thanksgiving, I made simple, two-step name cards that are inexpensive and can be done at the last-minute! to make these, you’ll need three things:
1. a pair of scissors
2. this brown bag paper
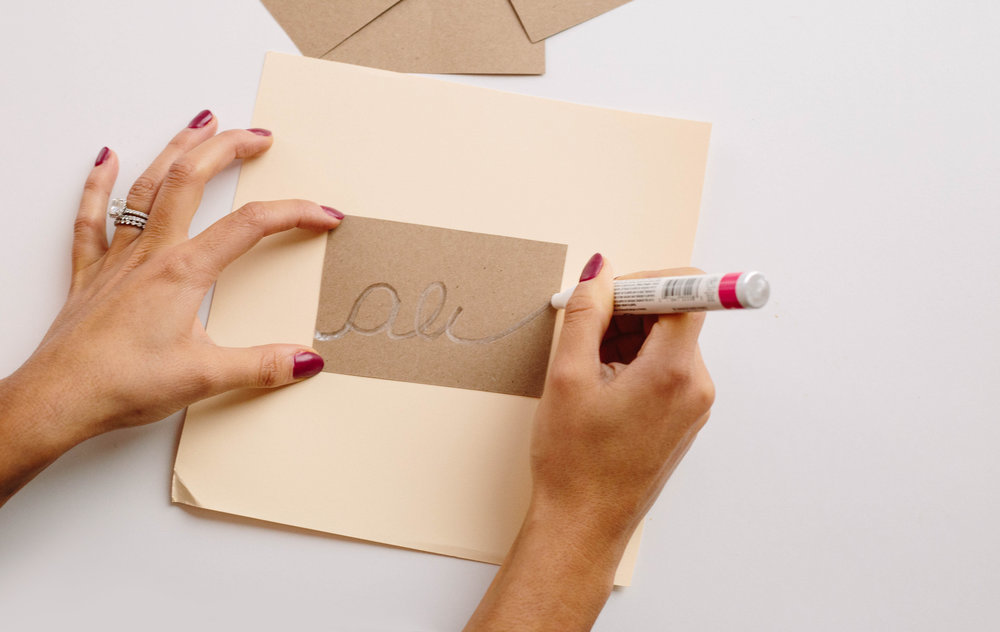
3. this white, oil-based paint Sharpie marker
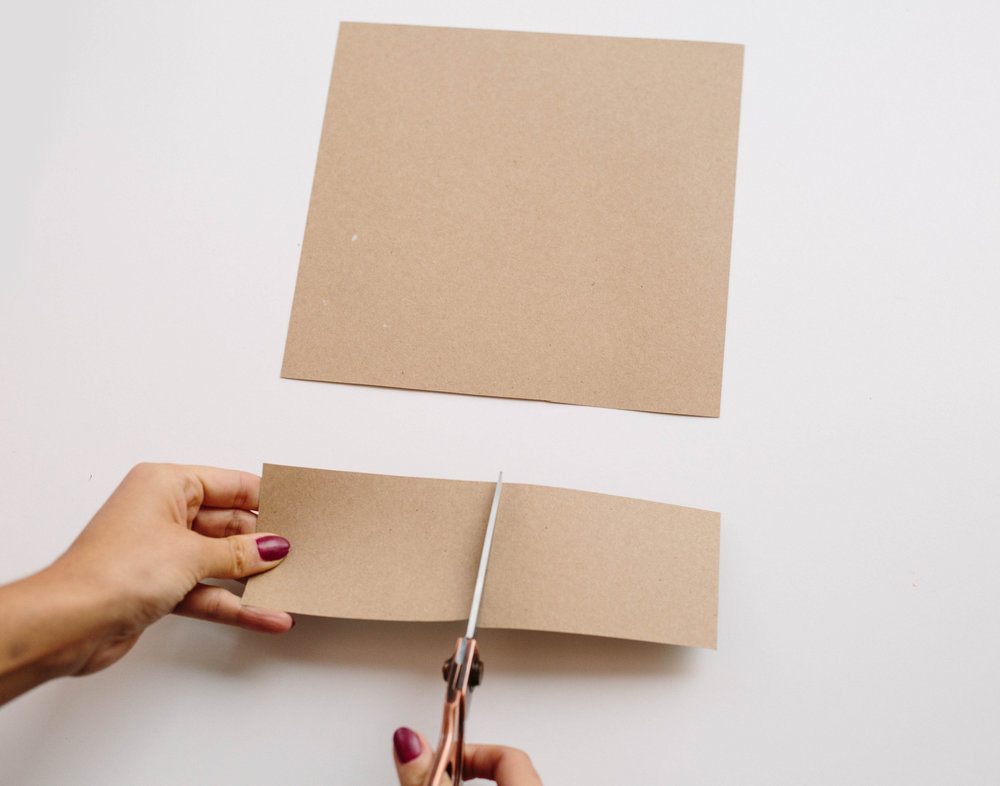
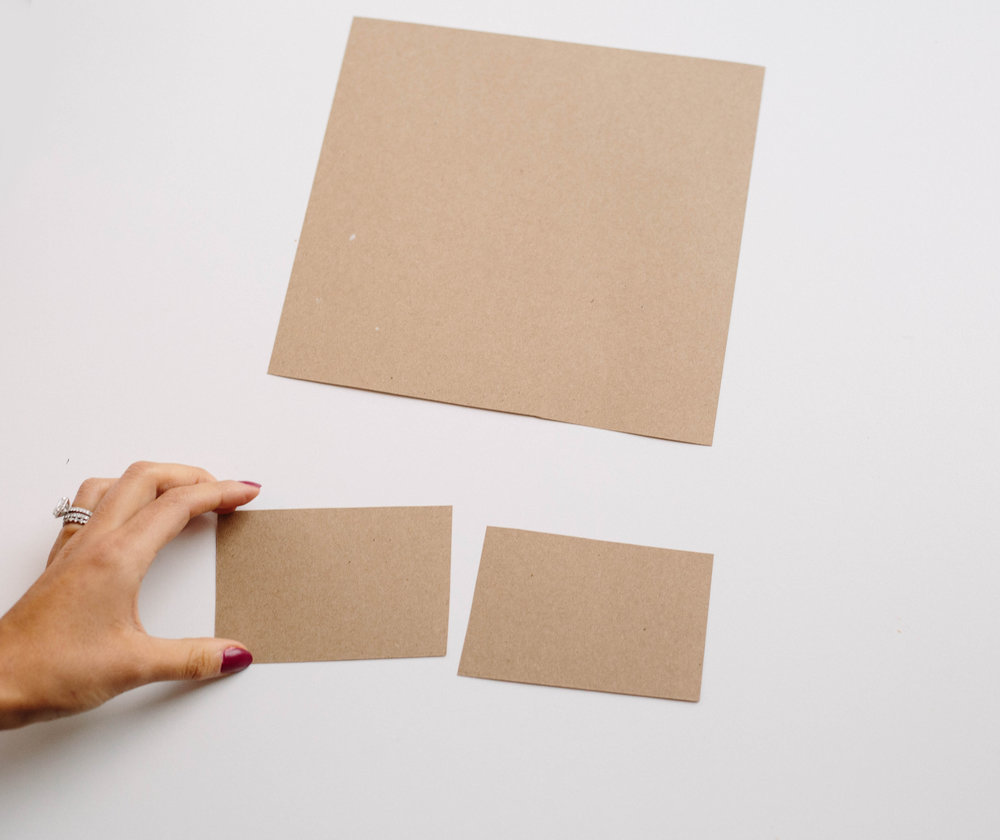
step 1: cut out your desired name tag size – I cut out eight.
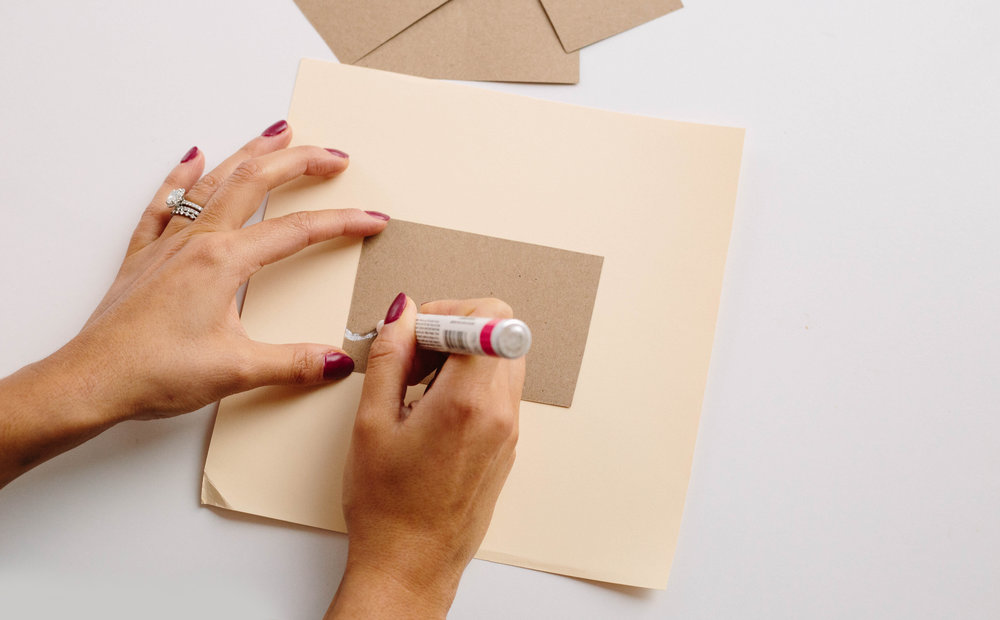
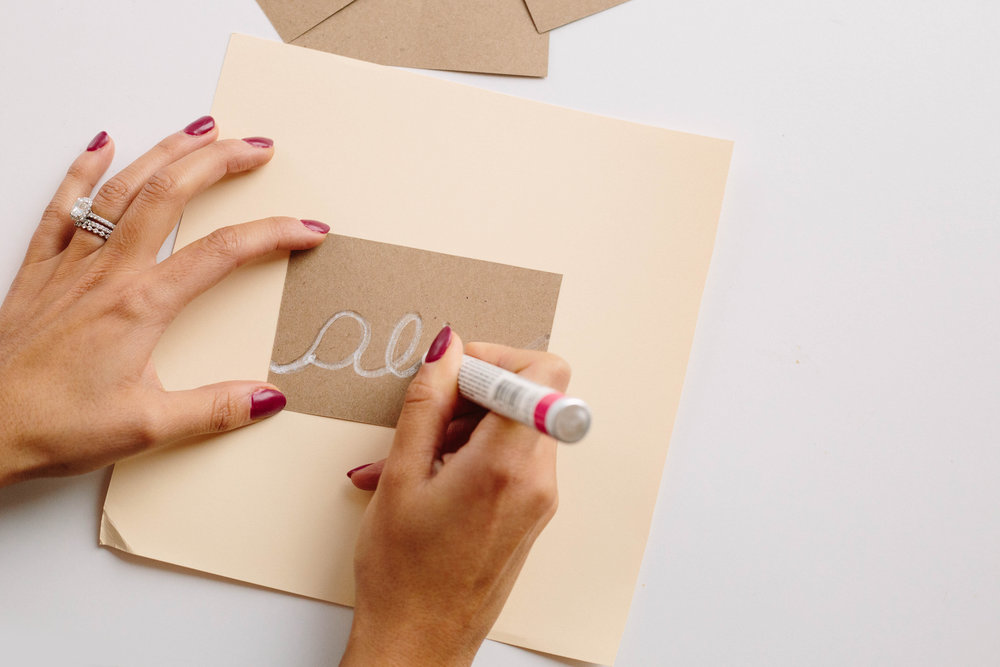
step 2: write the name on the card!
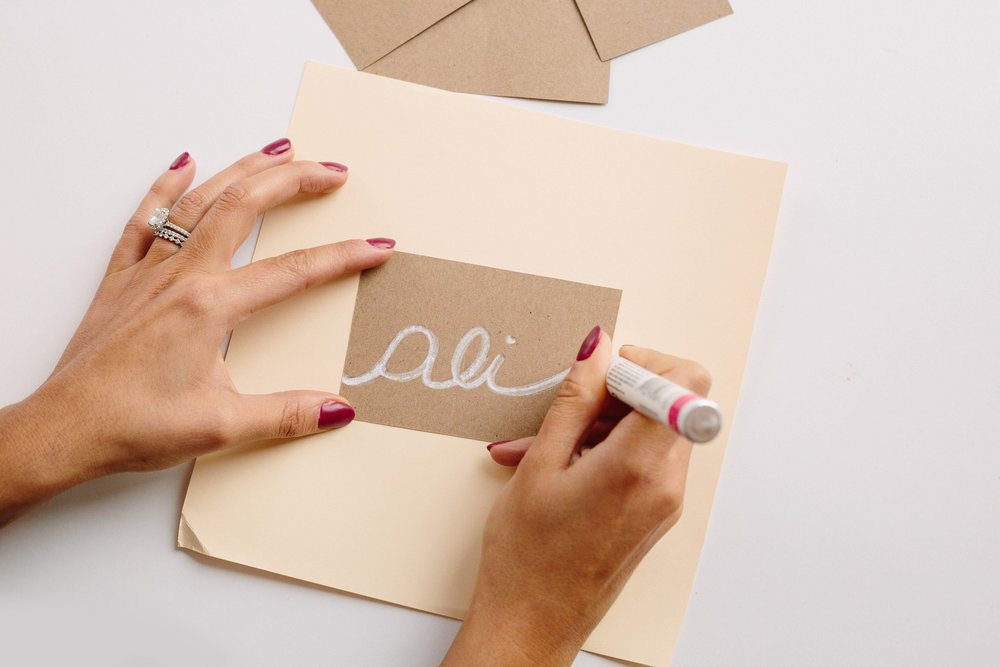
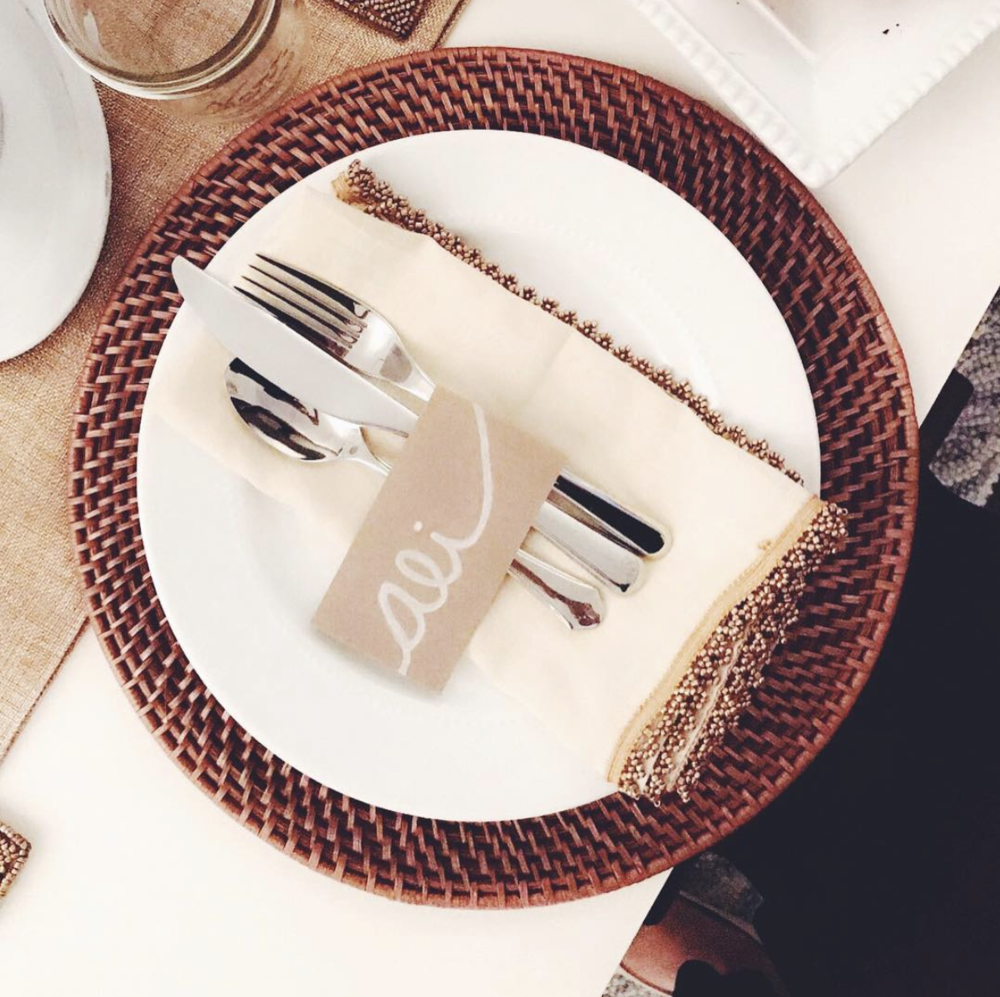
I like to make the name stretch the whole card, so I write in cursive and let the beginning and end of the first and last letters run off the paper.
you’ll also want to place a piece of paper underneath the name card so that you don’t get the Sharpie on your countertop/table/etc.
step 3: go over the lettering 3-4 times until it’s opaque and looks legible.
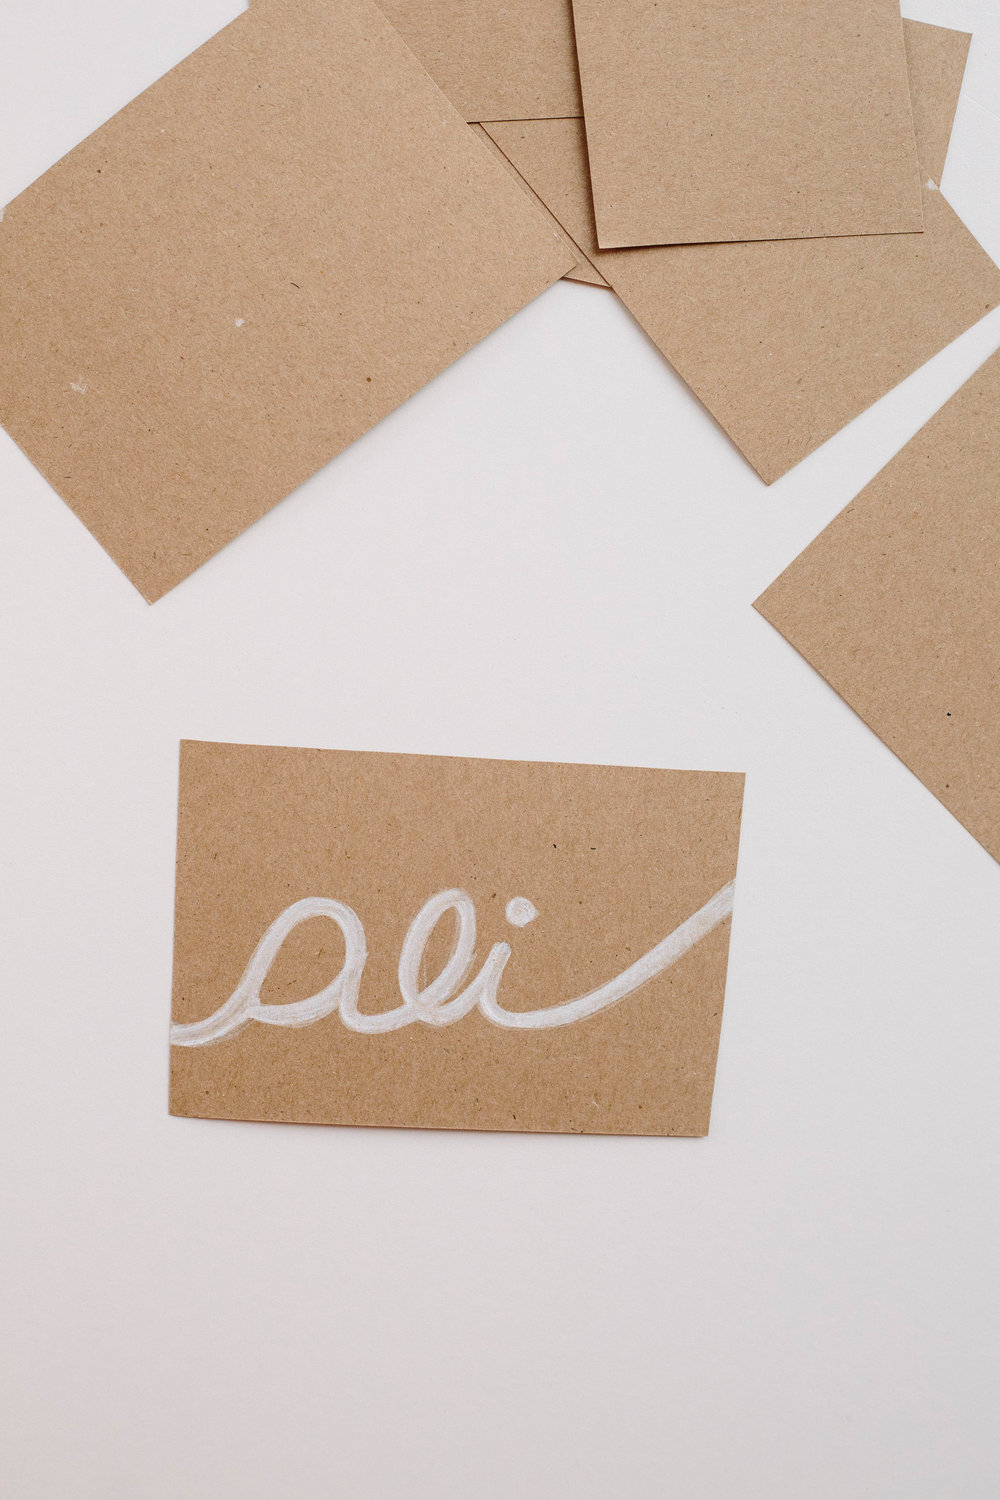
step 4: use them!
then, just place the name cards wherever you’d like on the table. this is how I used them:
and my mom with the dopest photo bomb:
shop the post:
