


One of the things I love most about blogging is the community of bloggers.
Maybe it’s just food blogging specifically, but for the most part, every single food blogger I’ve ever met has been so sincerely nice, supportive, and I’ve enjoyed getting to know so many food bloggers over my 3+ years of blogging.
I still consider myself a newbie at this, especially because some food bloggers started back in 2003 (holla, Elise from Simply Recipes!)
I’ve been to food blogger retreats, meetups, sponsored events, and I’ve always been excited for these “get togethers” because I get to spend some IRL face time with my “cyber friends” (that sounded way creepier than I intended it to, but what else would you call them?)
When people e-mail me and ask, “What’s your biggest piece of advice for me? I want to start a blog!”, my answer is this: e-mail the food bloggers you look up to the most and ask them something specific. Ask them something like, “I love the filter you have on your photos! How do you do that?” instead of, “So, how do you start a blog?” The Internet is amazing, because those easy questions (how do you start?) are answered in thorough tutorials with a simple Google search. However, what makes everyone specific are the “little things” (like photo filters), so when you’re looking to go off on your own, pinpoint what you love, find the bloggers that do it, and ask said bloggers how they do it.
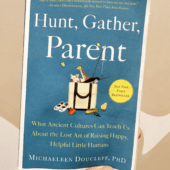
Anyway, this blog post isn’t meant to be about how to start a food blog. Today’s post is a recipe from my friend Serena’s (yes, a food blogger!) new cookbook (THAT’S OFFICIALLY OUT TODAY!!), The Dude Diet. Serena blogs over at Domesticate-Me.com and is coming out with her debut cookbook, based on a fun series she runs on her blog, The Dude Diet – basically, healthified recipes for dudes. Her fiancé (she got engaged a few weeks ago!) basically stepped on a scale, screamed, “I’m going on a diet!” and the series began.
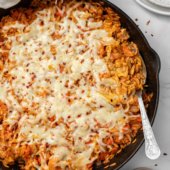
There’s more about that in her cookbook, which I really recommend you get – it’s full of amazing recipes that are lightened up. For instance, she makes impeccable nachos that are simply vegetarian, to lighten things up. She makes salads that are dude-friendly (ie giant, over-packed salads), but honestly, all of the recipes in this book are ones that I’d personally make myself – so dude or dudette, there’s something in here for you!
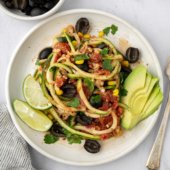
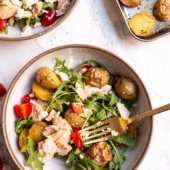
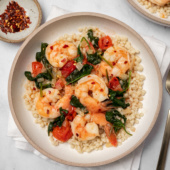
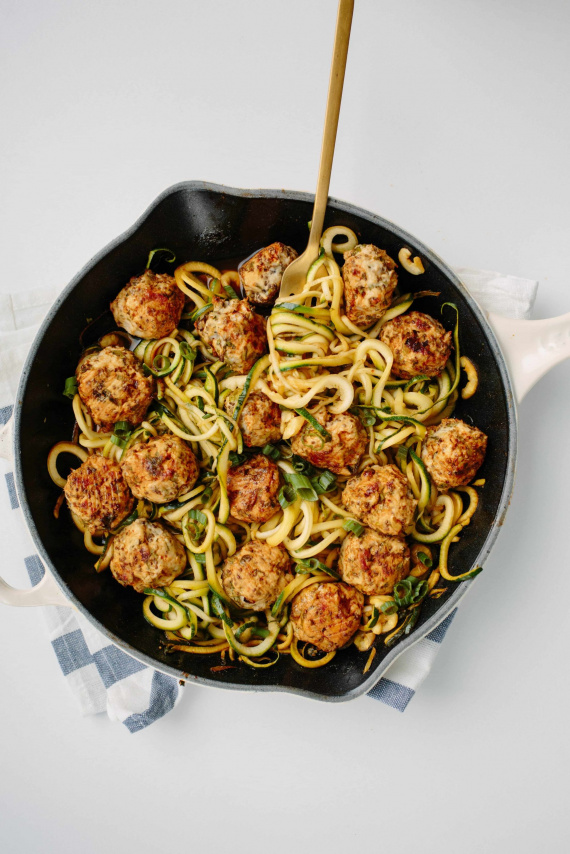
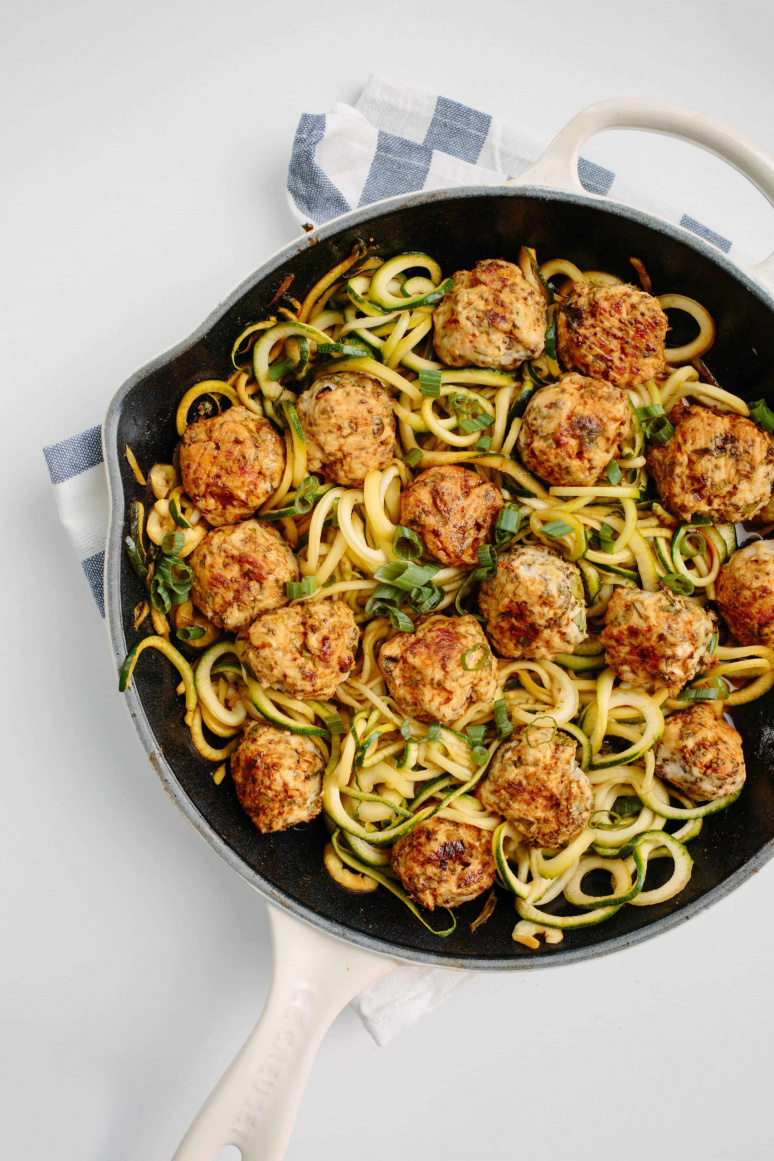
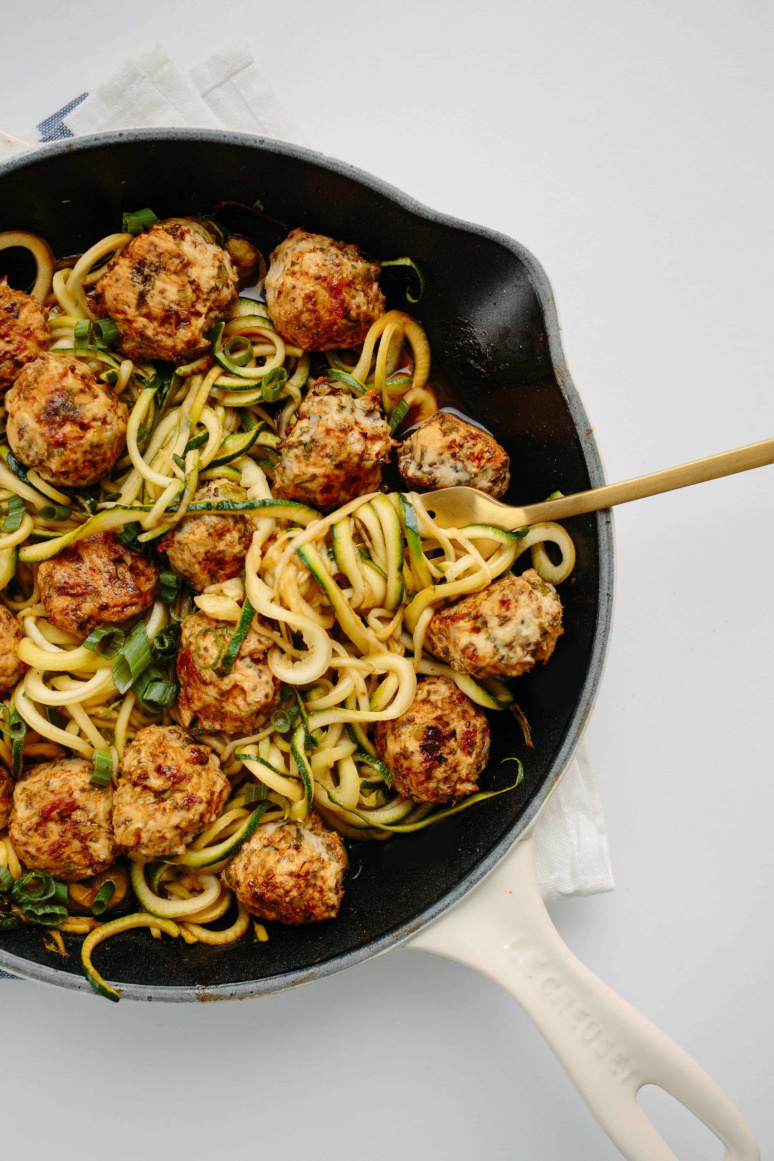
I chose to make her Thai Chicken Meatballs, because the photo drew me in and of course, they looked like they’d go perfectly with some zucchini noodles. So, here we are. The flavor in these ‘balls are on point, Thai-style. Most importantly, she uses chia seeds to gel everything together, instead of breadcrumbs and eggs, so they’re lightened up and packed with even more nutrients (and protein!)
I’ve never cooked meatballs with chia seeds, so it was fun to make these – and I LOVED them. They’d go well with some carrot rice or pretty much any spiralized veggie noodle.

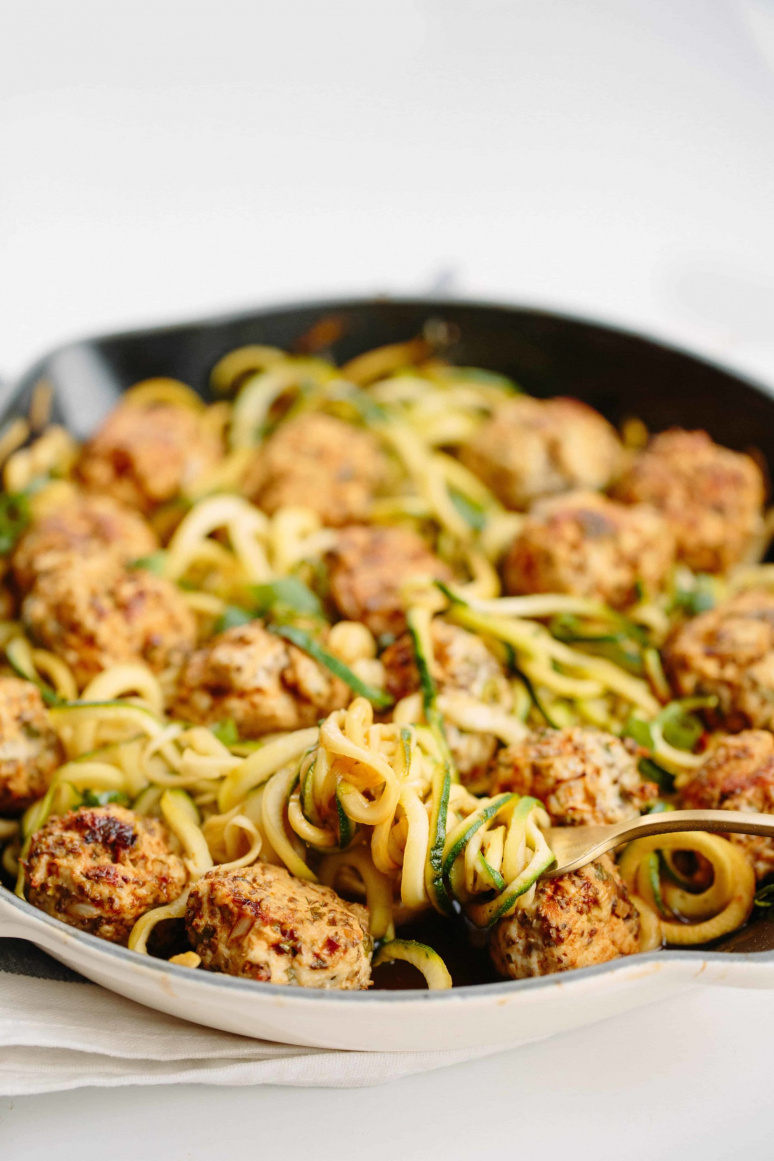
I made this recipe to serve (so you and your roomie can enjoy them and then you’d have leftovers for lunch the next day!), but the serving size of the meatballs serves 6. SO, if you want to serve 6, just double the amount of zucchinis in the recipe and the glaze ingredients and cook the noodles in batches. Simple as that.
Congratulations to Serena on your new cookbook! I know I’ll be cooking out of it more this fall!
Watch our video to learn how to spiralize a zucchini using the Inspiralizer and subscribe to our YouTube channel to watch more videos:
Nutritional Information & Recipe
Weight Watchers SmartPoints*: 7 points
*These points were calculated using the official Weight Watchers SmartPoints calculator. We are in no way affiliated with Weight Watchers, we are providing this information based on popular demand.
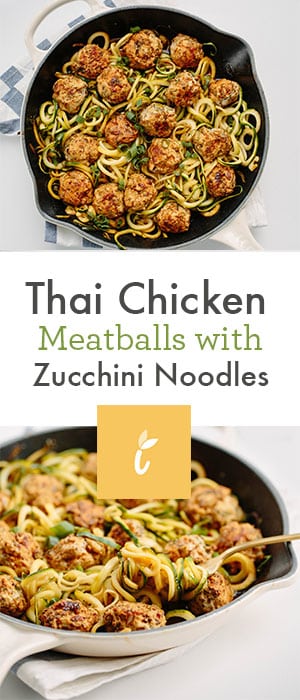
Thai Chicken Meatballs with Zucchini Noodles
Ingredients
- 1 pound ground chicken breast
- 3 garlic cloves grated or finely minced
- 11/2 teaspoons peeled and grated fresh ginger
- 3 scallions whites and light green parts only, finely chopped
- 1/4 cup fresh cilantro leaves finely chopped
- 11/2 teaspoons low-sodium soy sauce
- 2 teaspoons dark sesame oil
- 2 tablespoons chia seeds
- 3 medium zucchinis this makes 3 servings with 3 meatballs per serving - the extra meatballs should be frozen for future use. If you want to make all 6 servings, use 3 more zucchinis and double the glaze.
- For the glaze:
- 3 tablespoons low-sodium soy sauce
- Juice of 1/2 lime
- 1 tablespoon honey
- 1 tablespoon sriracha sauce
Instructions
- Put all the ingredients for the meatballs in a medium bowl. Using your hands, mix all the ingredients until well combined. (This is a little gross, but also kinda fun.) Cover and refrigerate the meatball mixture for 30 minutes to allow the chia seeds to work their gelling magic.
- Pre-heat the oven to 400 degrees. Line a large baking sheet with parchment paper and set aside.
- With damp hands, very gently roll heaping tablespoons of the chicken mixture into balls. (Try not to squeeze the meat too much, dudes. It will make the meatballs tough.) Arrange them on the prepared baking sheet, making sure they’re not touching. You should have approximately 18 balls.
- Transfer the meatballs to the preheated oven and bake for 10 minutes. Turn the meatballs over and bake for another 10 minutes until lightly browned and cooked through.
- While meatballs cook, spiralize the zucchinis with Blade D and trim the noodles.
- In a large skillet, whisk together the ingredients for the glaze. Bring it to a boil over medium-high heat and cook for about 1 minute until it thickens slightly. Add the meatballs to the pan and shake gently to coat them with the glaze. Set the meatballs aside and add in the zucchini noodles. Cook until al dente, about 5 minutes. Divide the zucchini into three plates and top with 3 meatballs per plate. Freeze the rest of the meatballs for future use.
comments